How to use tracezilla's supplier portal
As a supplier to a tracezilla user, you can enter information on orders to be sent directly to the end customer via tracezilla’s B2B supplier portal.
Via the portal it is possible to
- add SSCC number
- indicate expiry date,
- print pallet labels
- print delivery notes
- mark the order as sent
Log on to the supplier portal
To access the portal, you must have a login. It is sent as an invitation to you via email from your client who has the portal.
Click on the link in the email to create your user.
You will also receive the link to your customer’s supplier portal from your customer.
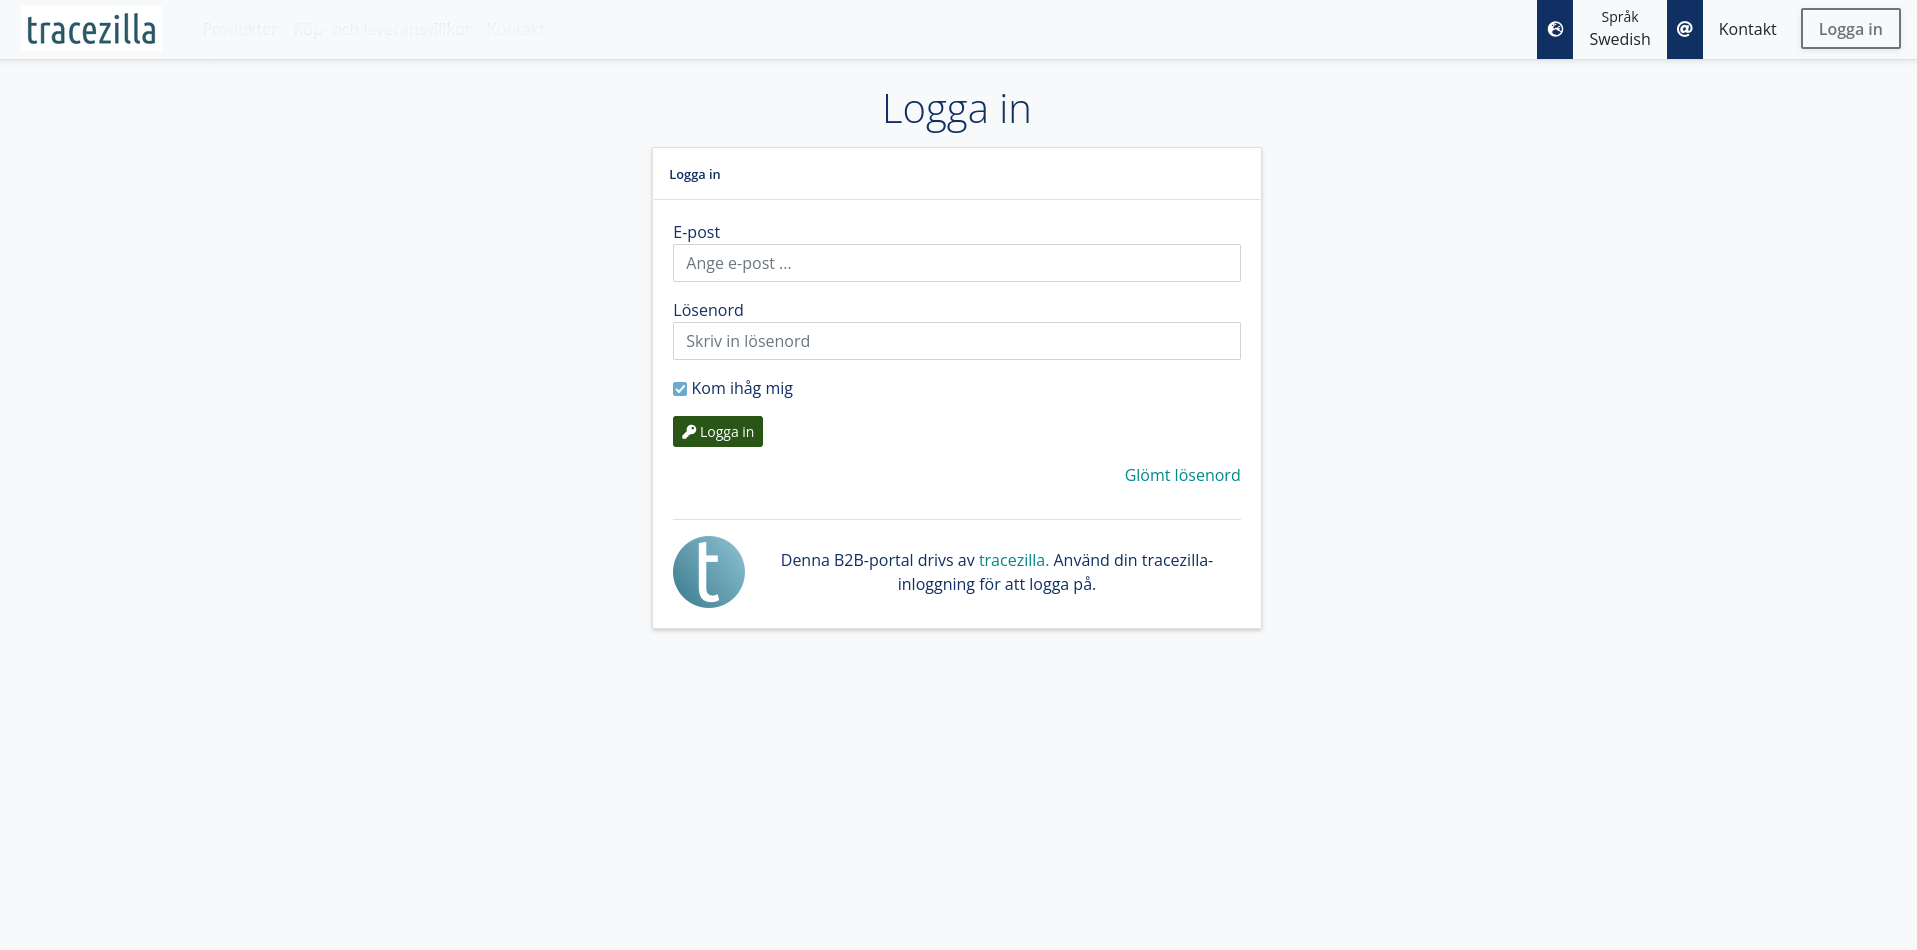
It will look something like this but may have different colors and logo.
Enter email address and password. Click Log in.
The order overview
If you have pending orders, they will appear in the order overview. Each order is displayed as an order line showing order and delivery information, pick-up date, delivery date and status.
When an order has been sent to the end customer, it can be found by clicking on Completed. Find pending orders again by clicking Pending
When you click on Home or the logo in the upper left corner, you go to this order overview.
Add SSCC number and expiry date
Click on the order in the overview.
At the top are order and delivery information and action buttons.
Below these are the ordered products where unit and total quantity are filled in for each product line.
You can choose to have SSCC numbers automatically generated and added for each pallet. The system knows the standard number of boxes per pallet and calculates the actual number of boxes per pallet.
Click SSCC suggestion for SSCC number to be added automatically. A line is created with the SSCC number for each pallet and the quantity per pallet is filled in based on the default information in the system.
If a pallet has a different number of boxes than the standard number, it is possible to change the number directly in the field. If the total is incorrect, a warning symbol will appear next to the total.
Remember to Save changes if you change the number.
You can add pallets manually with + New Pallet. For example. if you a pallet does not have standard number of boxes. Write the number of boxes on the pallet in the Quantity fields. SSCC number is automatically added when you click Save Changes.
In the right side of the line, fill in Expiry date. If you fill in the top row, the same date is filled in for all pallets. If individual pallets have a different expiration date, it can be changed for each row. It is also possible to fill in batch numbers if required.
Remember to save.
Print the pallet label and delivery note
Once all information is filled in, you can print GS1 pallet labels. Click on the GS1 Pallet Labels button to print one label per pallet.
You can use the pallet labels when picking the order so it is easy to see what is to be picked.
You can also print the pallet labels after the order is picked.
Print the delivery note to be sent with the order to the end customer.
Mark as picked / Send
When the order is picked, you can click Mark as picked if you do not send it immediately. You do not need to mark as picked before clicking Send.
Click Send when the order is sent. The order gets the status In transit and is moved to Completed.
When the customer who has the portal has marked the order as delivered, it will automatically receive the status Delivered.