Shipmondo integration
Shipmondo is a cloud-based freight booking platform, which also makes it easy to create and print freight labels. Shipmondo connects you to a wide variety of carriers. This makes it flexible to book shipping regardless of shipping volume.
About the integration
When the integration is set up, you can create orders in tracezilla, which sends the data to Shipmondo, where a shipment draft is automatically created.
In tracezilla, when creating an order, you just add a forwarder in the field Forwarder, and select the warehouse location entered in the integration setup.
This tutorial is divided into 3 steps:
Step 1: Create forwarder tag.
Step 2: Create tag for shipping method.
Step 3: Connect the integration.
Step 1: Create shipmondo forwarder tag
- Click the company name in the upper right corner, and select Company Settings.
- Click Tags.
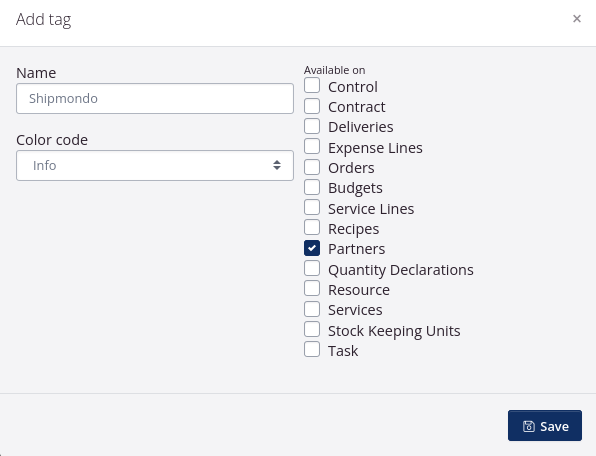
- Click Add new.
- Name the tag, e.g. “Shipmondo”.
- Tick the box by Partners.
- Click Save.
Step 2: Create tag for shipping method
This is also used in other integrations for logistics partners, like Blue Water Shipping.
- Click Add new in the upper right corner again.
- Name the tag, e.g. “Shipping method”.
- Tick the box by Partners.
- Click Save.
- Go to back to your company settings.
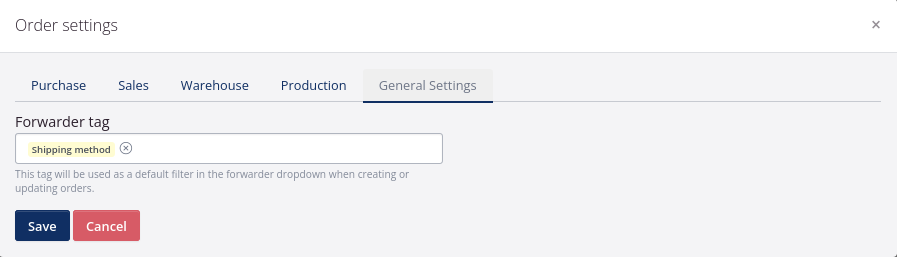
- Click Orders in the Advanced Settings section.
- Click General Settings.
- Enter the tag in the field Forwarder tag.
- Click Save.
Step 3: Connect integration
- Go back to your company settings.
- Click Built-in integrations.
- Click Connect and Configure by Shipmondo.
- Enter a text in the field Memo. This is for internal use, and can be useful for identifying an acoount, if multiple Shipmondo accounts are set up.
- Go to Shipmondo. You can find your API key in Settings. Click Generate to generate an API key.
- First, copy the key from the field User in Shipmondo, and paste the key to API user in tracezilla.
- Then, copy the key from the field Key in Shipmondo, and paste to the field API key in tracezilla.
- Click Connect.
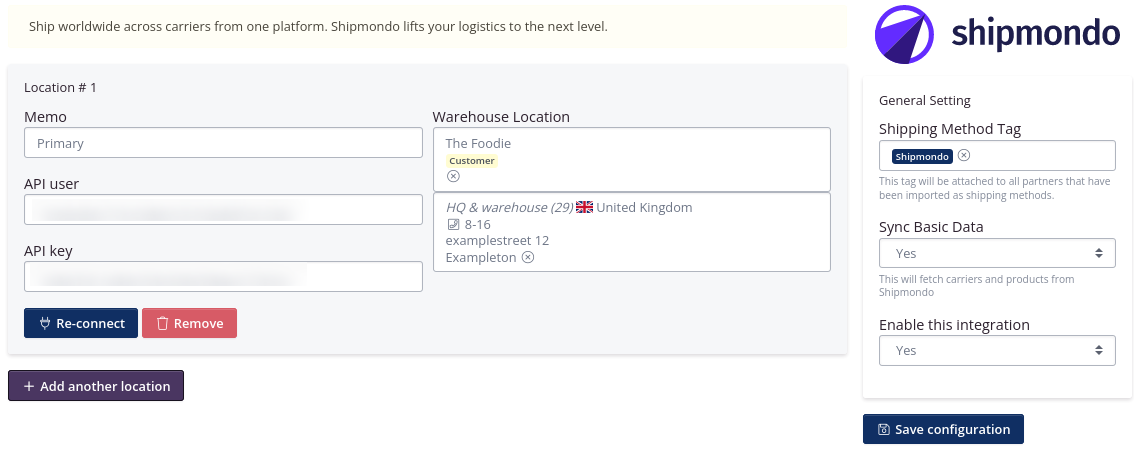
- Select the Warehouse Location from which you pick your orders for Shipmondo.
- Enter the tag, you created at the beginning, e.g. Shipmondo. This tag will automatically be added to the forwarders synchronized from Shipmondo to tracezilla.
- Select Yes in Sync Basic Data. By doing this, th forwarder information will be synchronized from Shipmondo to tracezilla.
- Enable the integration by selecting Yes, and then Save configuration.
Please note, the integration is continuesly synchronized every 15 minutes.
Create and print labels directly from tracezilla
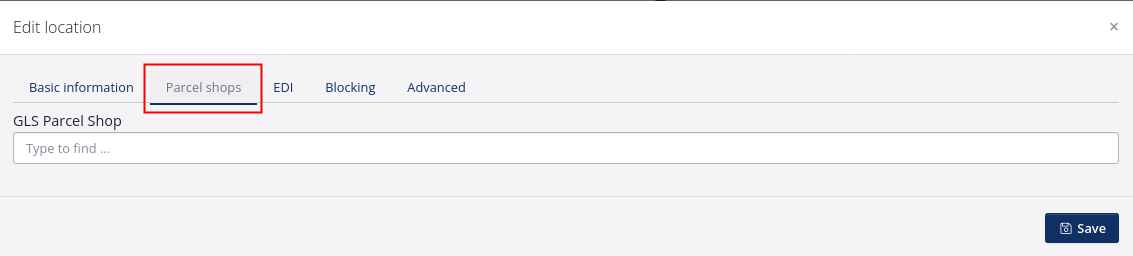
You can link a given GLS parcel shop to a location if you use the Shipmondo integration in tracezilla, and you need to specify that the goods must be delivered to a parcel shop rather than the customer’s address.
The parcel shop is selected at the customer’s location. tracezilla searches directly in the database according to the specified address of the location.
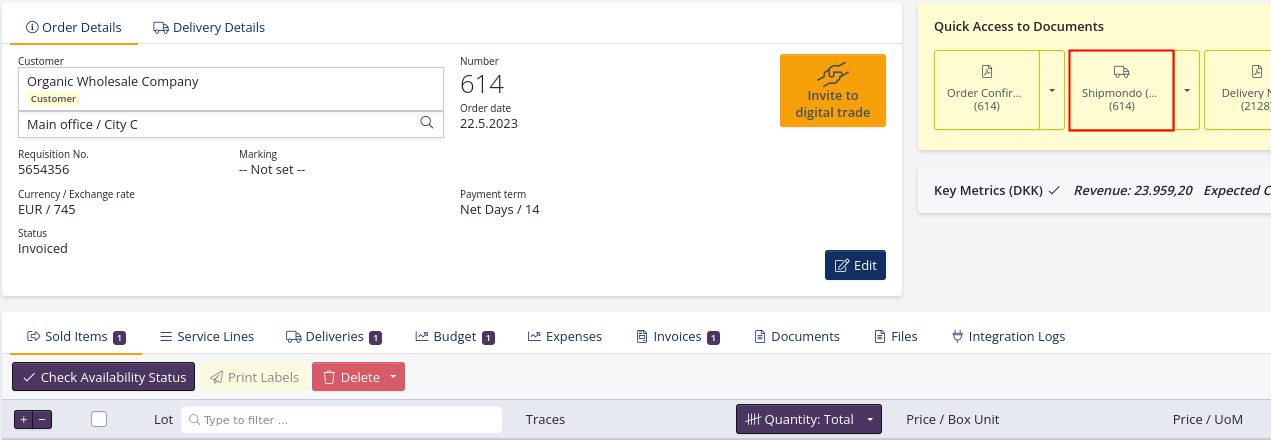
You have the option to print your Shipmondo label directly from the sales order. Simply click on it in Quick access to documents and then confirm that you want to create the label.
You pay per label to Shipmondo according to your subscription. Read more at Shipmondo’s website.
When a Shipmondo label is created from tracezilla, be aware that tracezilla uses the gross weight registered on the SKU to calculate the weight that appears on the label. This weight cannot be changed on the label you create directly from tracezilla. It is therefore important that there is the correct gross weight for the types of goods covered by the label.